This article will cover how to set up your account settings.
You can access your account settings in the main navigation under Account Settings -> Account Settings
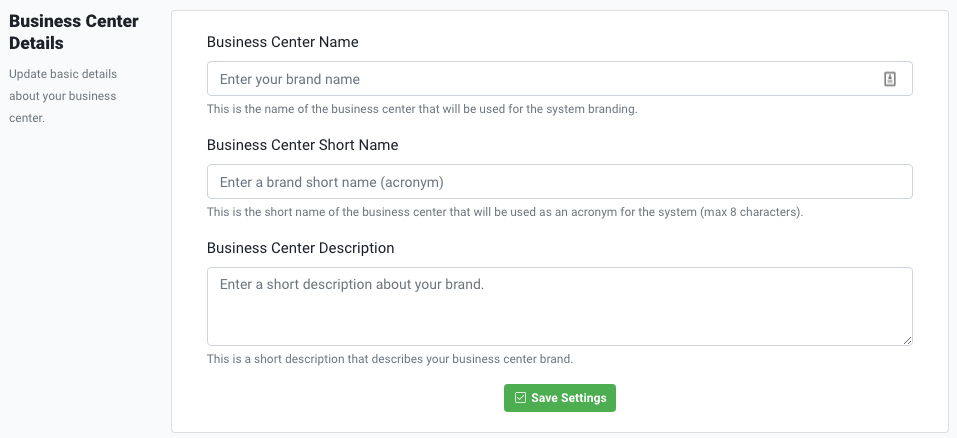
Here you can update the basic details about your business center. Your business Center name will be used for system branding and will show up in the top left of your business center if you do not upload a custom logo. Your Business Center Description is used to describe your business center brand.

Business Center Options
Here you will find options for customizing how your business center functions.
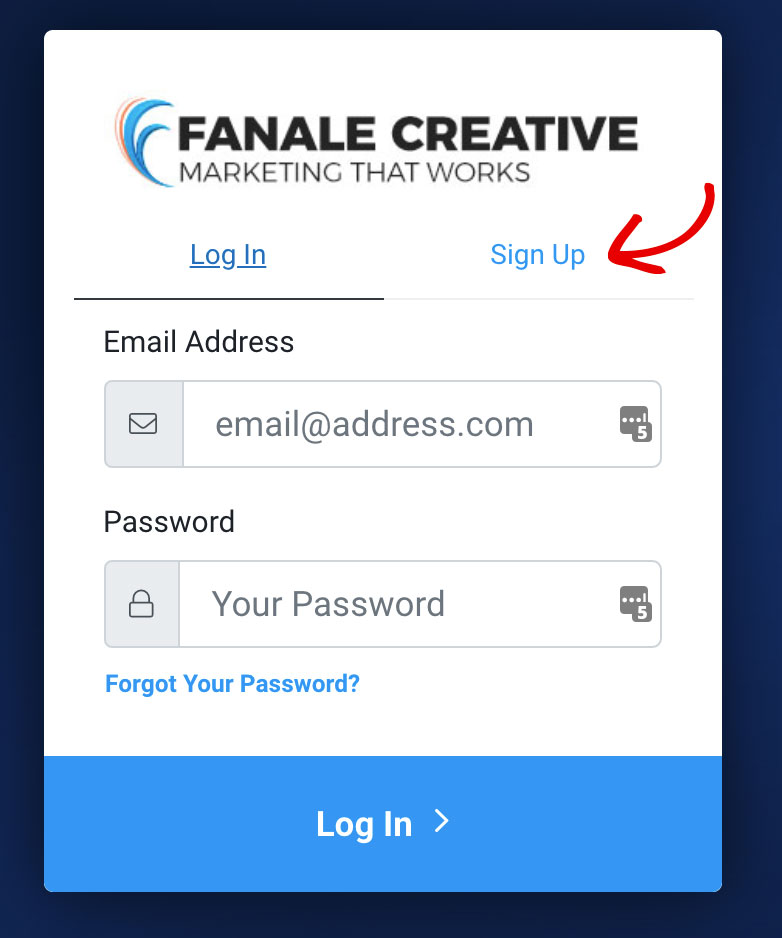
Registration Options: Enabling this option will allow people to register for a free membership level in your business center. (Basically a 'free membership' level) This will add an option to your login page for someone to 'sign up,' they will then be sent an email to confirm their membership, and will be able to access courses that are available to 'All Membership Levels.'

If you enable this, you will notice a 'signup' link on your login page like the one shown below. Nothing else is needed to enable a free membership level for your business center.

Subscription Options: Select your subscription options. Enabling this option will allow members to cancel their own subscriptions (recommended for membership sites). By default this setting is enabled.

Support Contact
Here is where you will provide your support contact information for your business center. It is recommended that you have at least one way to contact you in order to provide support to your members. This information will be shown in various areas throughout your business center to your members & customers, as well as being included in automated emails sent through the center.

Tracking & Analytics
Within the business center, you have a few different options to add tracking and analytics pixels to the pages on your site. You can use Google Analytics, the Facebook Pixel, or Google Tag Manager.
Google Analytics - Insert the Google Analytics Tracking ID only, and we'll take care of the rest.
Facebook Pixel - If using the Facebook pixel, insert the PIXEL ID ONLY. You do not need the entire embed code
Google Tag Manager - While this is a bit more advanced, tag manager is extremely powerful. If you choose to use Google Tag Manager, insert the tag manager container ID here.